
Welcome to the Gecko family! New to Centova Cast? Shoutcast? Icecast? Don’t worry, we all were once! All you really need is a passion for radio. So, let’s get started.
First, we need to login to your Centova Cast control panel account. Please refer to the “New Streaming Account Information” email sent to you by the system.
There are two ways to “source” a streaming server. The first is by broadcasting live over the Internet remotely from a PC or studio. The second is by uploading files for the Auto DJ to stream locally on the server side, which is where we start…
Using the Auto DJ
Ok, let’s upload some songs to the Auto DJ! We recommend FTP for larger libraries, but for now, let’s get you on the air! Below we use Centova’s File Manager to upload.
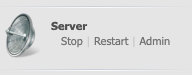
Please Stop the streaming server if it is running and continue.
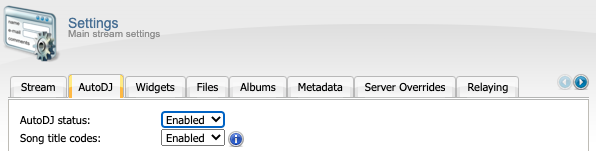
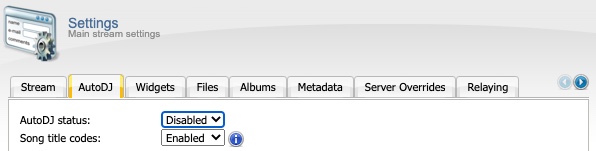
Enable Auto DJ. Do so by clicking Settings and then making your way to the Auto DJ tab. Save any changes.
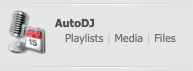
NOTE: The Auto DJ sub menu now appears in the main left-hand navigation.
File Manager
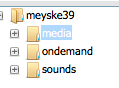
First, launch your File Manager in the Centova Cast control panel by clicking Files in the navigation menu under the Auto DJ heading. Enter the media folder.
Press the Upload button to prompt the File Manager dialog box. Click Select files to upload the music of your choice.
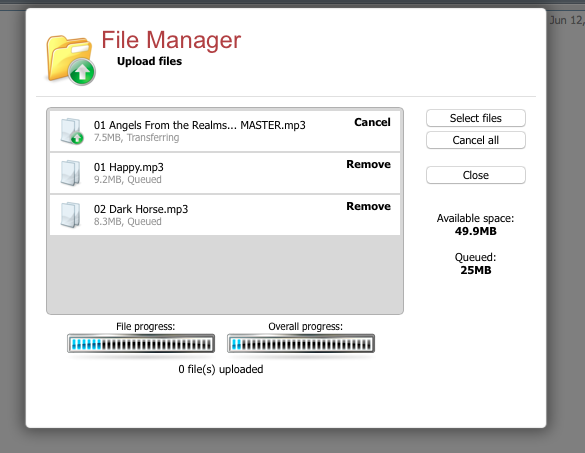
Upload the files. Once you are satisfied close the File Manager dialog box and Return to the main control panel area.
Media Library
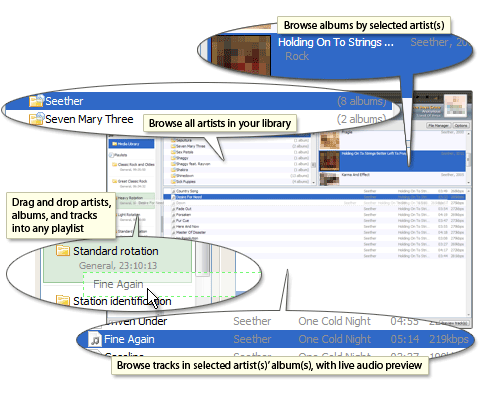
Next, open your Media Library in the Centova Cast control panel by clicking Media in the left-hand navigation menu, again under the Auto DJ heading.
Click and drag preferred files/folders by artist, album, and track to add them to the default “Standard rotation” playlist. Sort them in a sequential order if you wish. You can choose shuffle or sequential order in the Playlist Manager.
Playlist Manager
Now open your Playlist Manager in Centova Cast Playlists – again under the Auto DJ heading in the main Centova Cast navigation – to shuffle or “weight” playlists for priority programming.
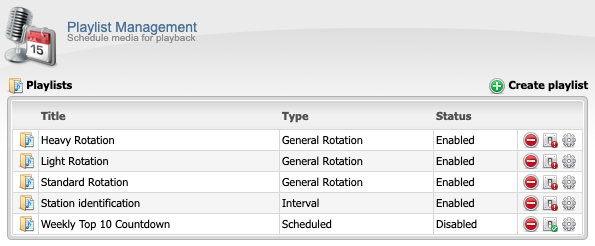
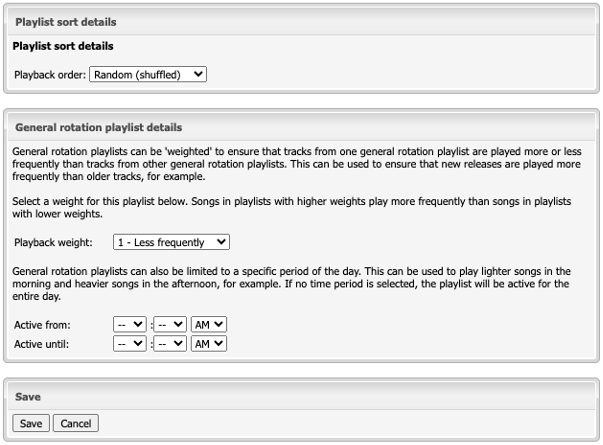
Each Centova account includes three general rotation playlist templates: heavy, light, and standard. These functioning examples are fairly self-explanatory. The more “weight”, the more frequent the playback. I.e. New releases, etc.
Finally, last but not least, save your “Standard rotation” playlist if you made any changes. Because it’s time to start the stream! Ok, get ready! This is where the fun starts.
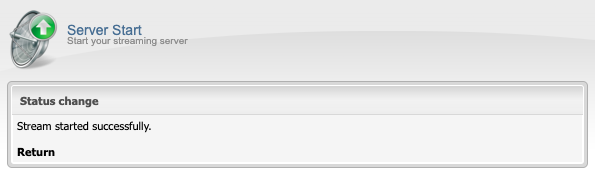
Start the server.
Congratulations!!! You are on the air!!!
NOTE: Learn more about understanding and creating advanced playlists: general rotation, scheduled, interval, and immediate, to take your station to the next level.
Broadcasting Live
Download and install any third party broadcasting software such as SAM, Winamp, or BUTT (“broadcast using this tool”) and you are already halfway there! In most cases all you have to do is enter the server hostname or IP, port, and password settings, choose your music, and click connect.
Determine if the status of your Auto DJ is on or off.
When the Auto DJ heading is missing from the main menu on the left-hand side of the Centova navigation, the AutoDJ is off. Click Settings and select the Auto DJ tab to confirm.
When the Auto DJ is on the sub menu appears in the main left-hand navigation.
Auto DJ is Off
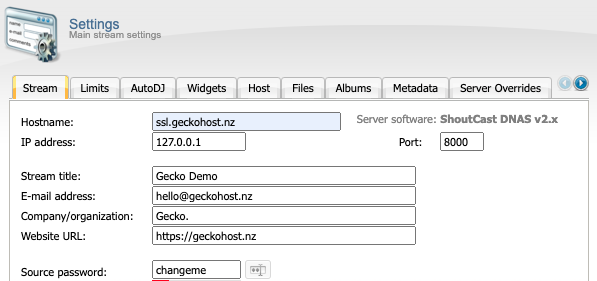
If your Auto DJ is disabled you will find the proper IP/hostname, port, and (source) password under the default Settings tab. You will need to input these details into your streaming software encoder to connect to the server.
NOTE: Enabling the Auto DJ system is required for giving your DJs restricted access.
Auto DJ is On
If your Auto DJ is enabled navigate to the Quick Links page.
Now scroll down to the Live Source Connections section where you can find the streaming specifics. This is the information DJs will need to broadcast.
Shoutcast Stream
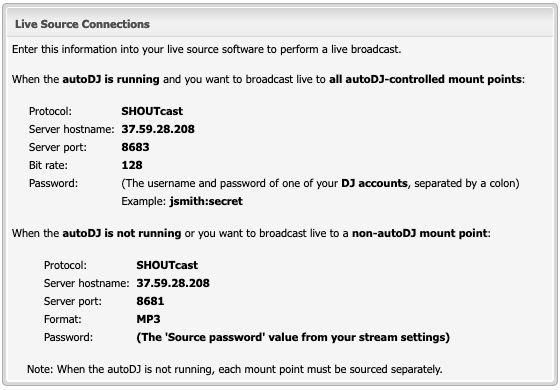
NOTE: Please connect to the default stream ID “1” (Shoutcast v2 only).
Icecast Stream

NOTE: Please connect to the “/live” mount point setting (Icecast only).
Enter these Shoutcast or Icecast streaming details into your third party encoder to connect to the server and start your broadcast.
Now, just like that, you are on the air!!! Congrats!!!
Creating a DJ account is also integral. This will allow you to permit different permissions for individual DJs depending on the level of trust and tech savvy each may possess. Plus, keep passwords private.
This circumvents the outdated need to “kick” sources manually too, as the Auto DJ is capable of automating the process and seamlessly switching back and forth between live DJs and the Auto DJ.
Above are the basics. However, it may be necessary to consult your third party encoder documentation for further instruction in particular cases.
Good luck!